You can also disable the Windows 11 Firewall on the app basis so that the particular app will be allowed through Firewall while others will remain protected. If you want to disable Windows 11 Firewall, then this article will help you with that. Here’s the step-by-step guide to help you disable Windows 11 Firewall.
1 How To Turn off Firewall in Windows 111.1 Disabling Windows 11 Firewall1.2 Disabling Windows 11 Firewall For Particular App1.3 The Verdict
Disabling Windows 11 Firewall
Windows 11 Firewall is good at protecting your PC from threats online, However, this can sometimes lead to connectivity problems and you may not be able to access a site you want to access or download files online. Disabling Windows 11 Firewall can solve certain internet connectivity problems that are caused due to firewalls. Given below are the steps to help you disable Windows 11 firewall-
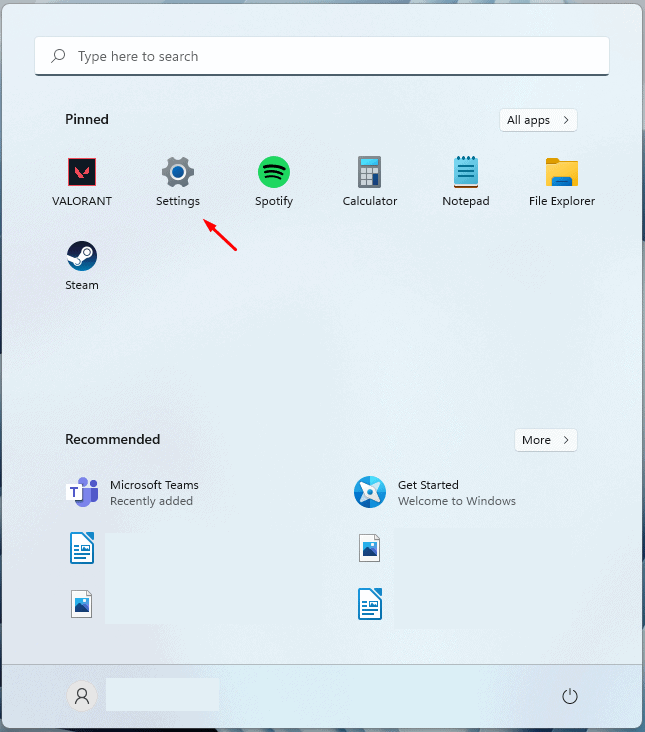
You will have to visit the Settings of your PC in order to be able to access the Firewall settings. Press Windows + I key combo to open the Settings
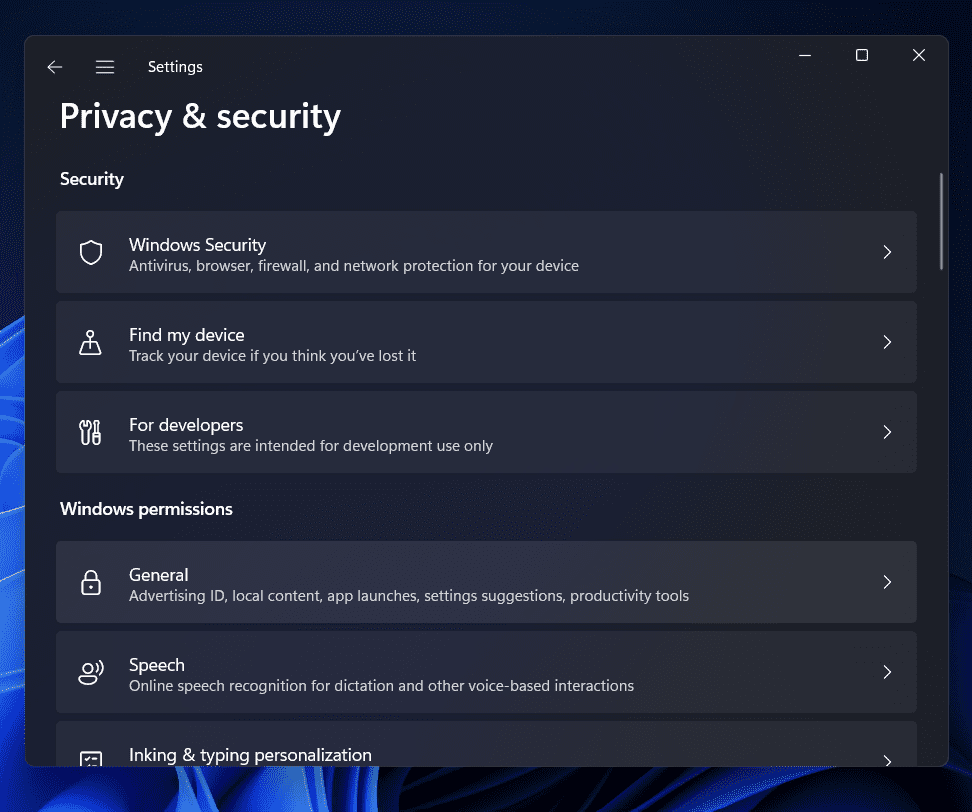
In the left sidebar of the Settings app, click on Privacy & security.
Now on the right side, click on Windows Security. You will find it under the Security section on the right side.
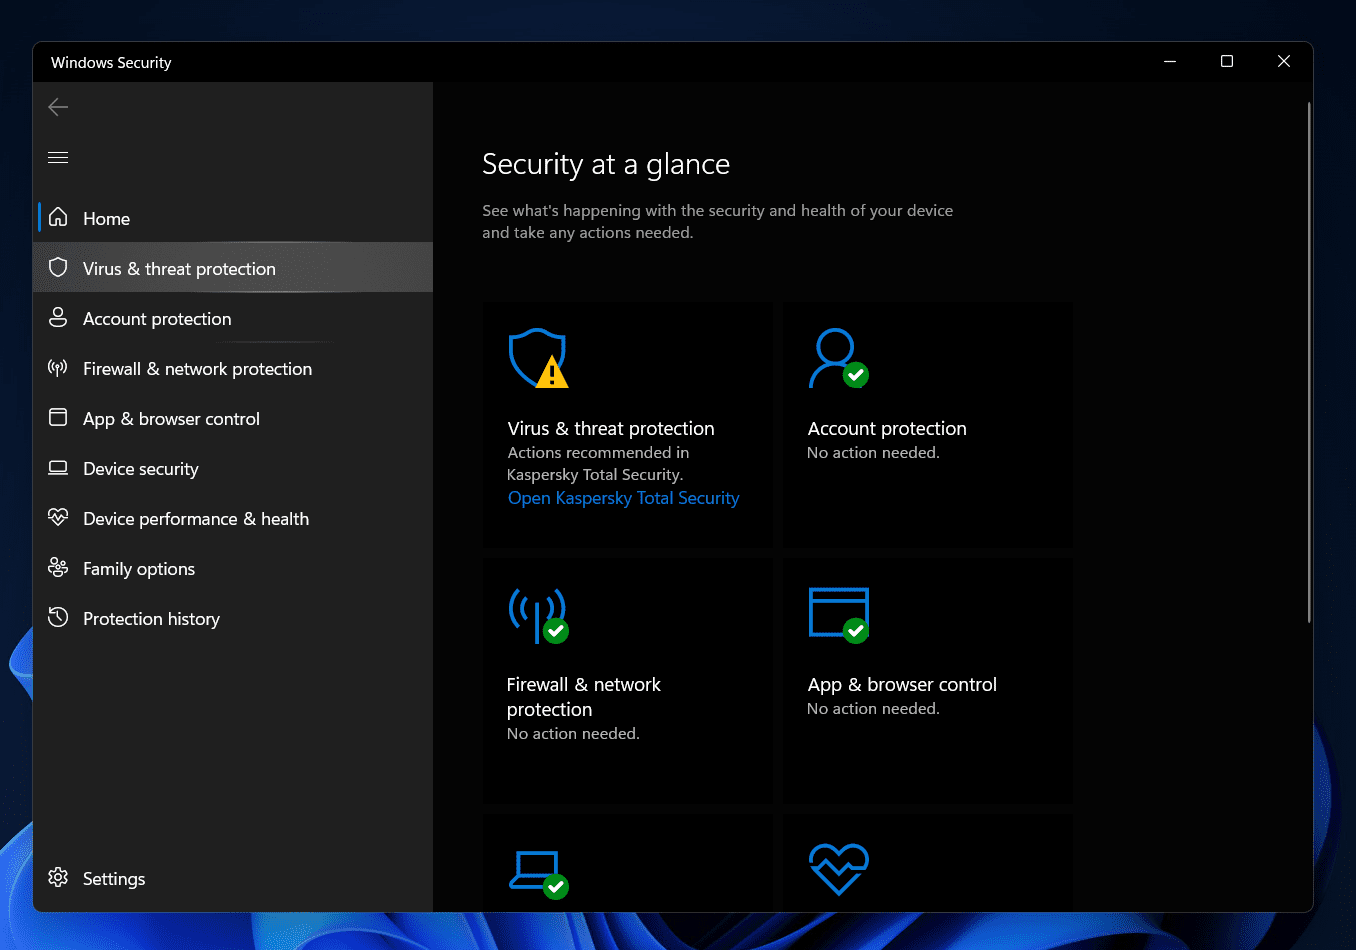
On the next screen, click on Open Windows Security.You will be headed to the Windows Defender (Windows Security)You will see various security options here. Click on Firewall & network protection option in the Windows Security
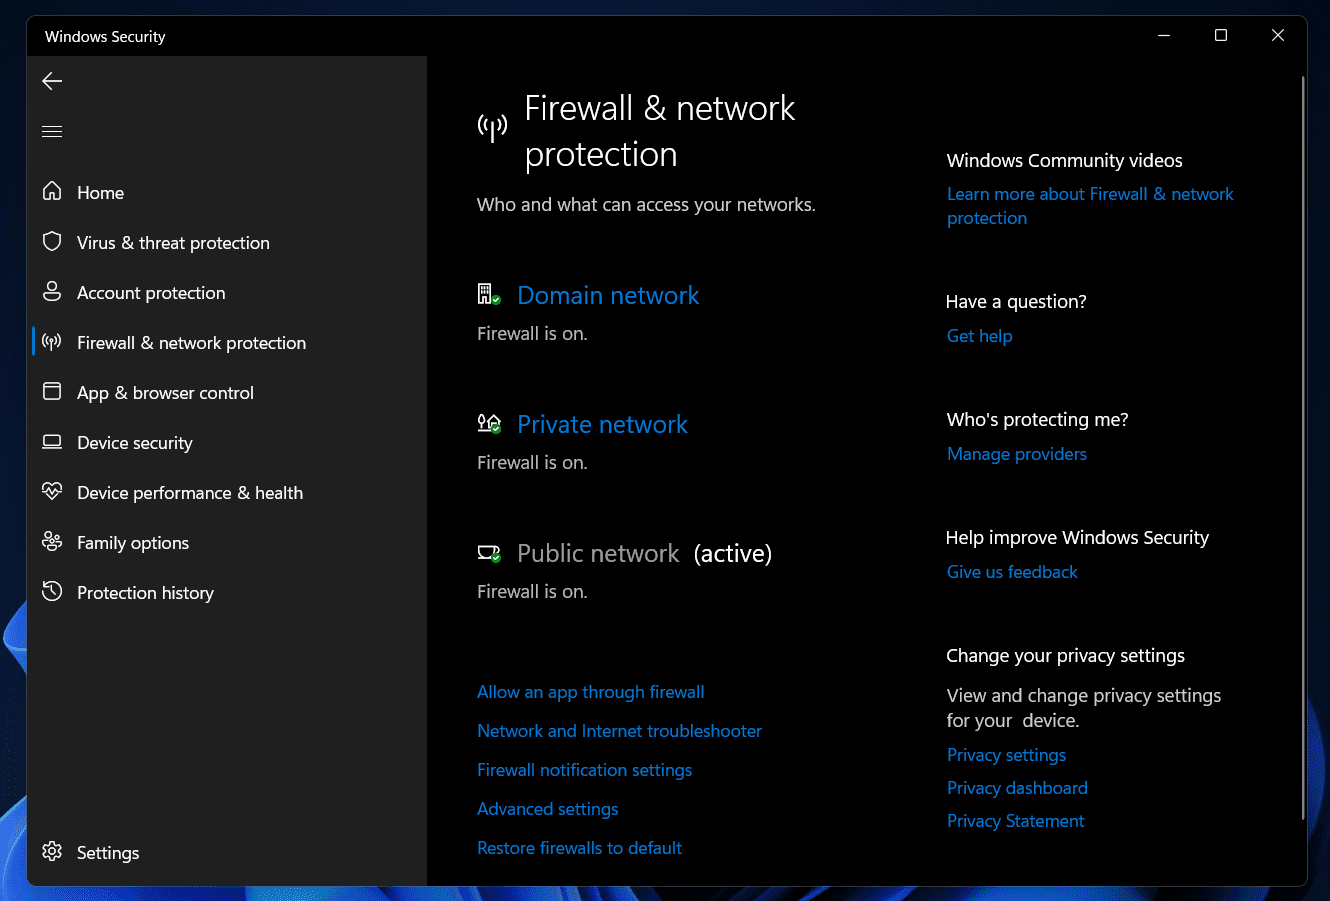
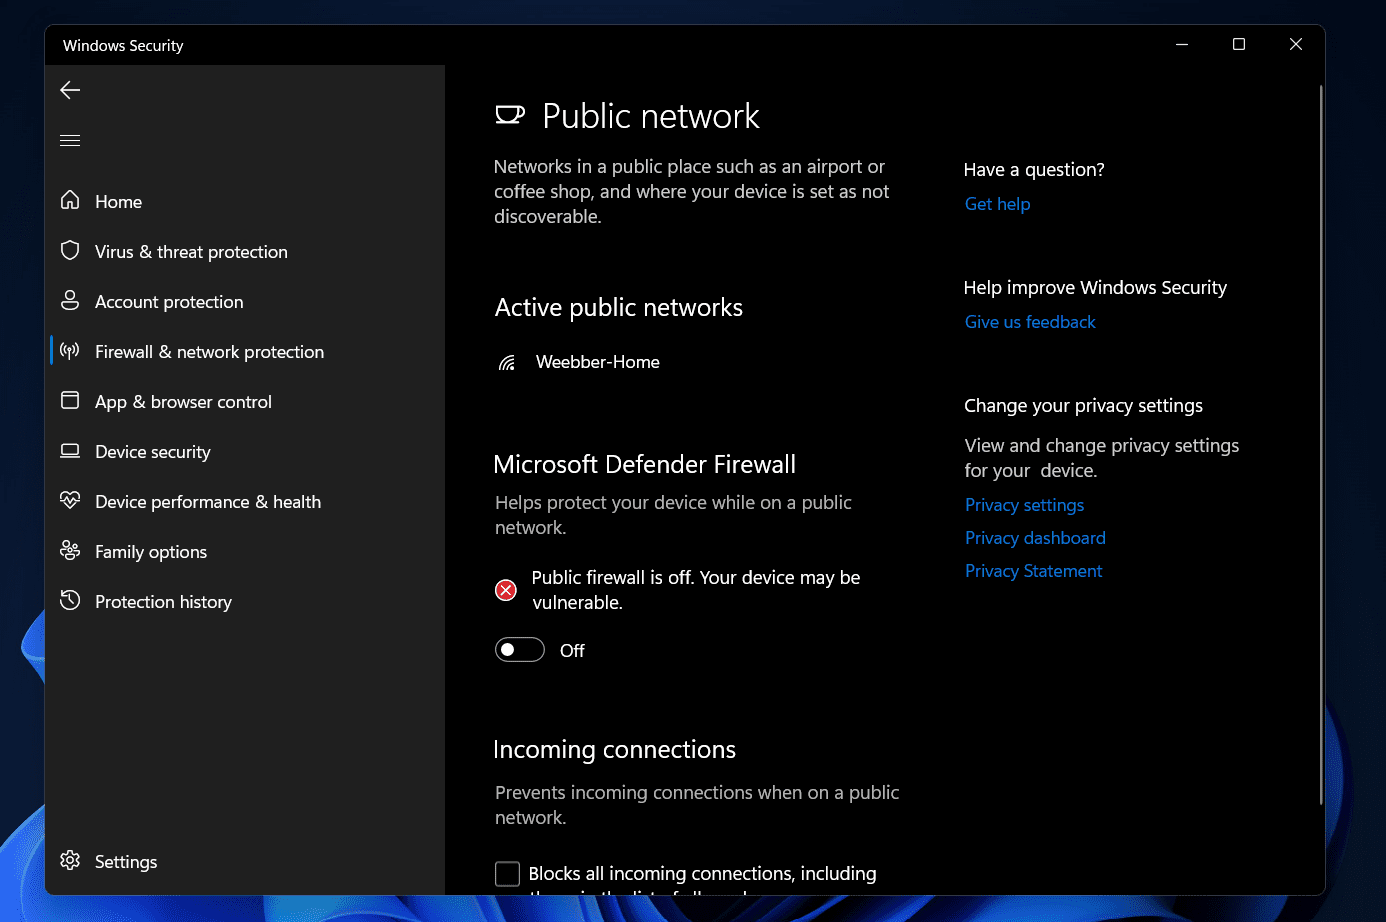
Here, click on Public Network. If it has Active written beside it, then it means that the firewall is enabled.
Disable the toggle for Windows Defender Firewall and you will have successfully disabled the Windows 11 Firewall on your PC.
When you disable the Windows 11 Firewall, you will see a message on the screen, Public firewall is off. Your device may be vulnerable. If you want to re-enable Windows 11 Firewall on your PC, you will have to enable the toggle for the Windows Defender Firewall that you disabled previously.
Disabling Windows 11 Firewall For Particular App
If you do not want to disable Windows Firewall completely, but you just want to allow a particular app through it, then you can also do that. Given below are the steps to disable Windows 11 Firewall for the particular app-
Open the Settings app on your PC, and then head to the Privacy & Security section on the left sidebar.
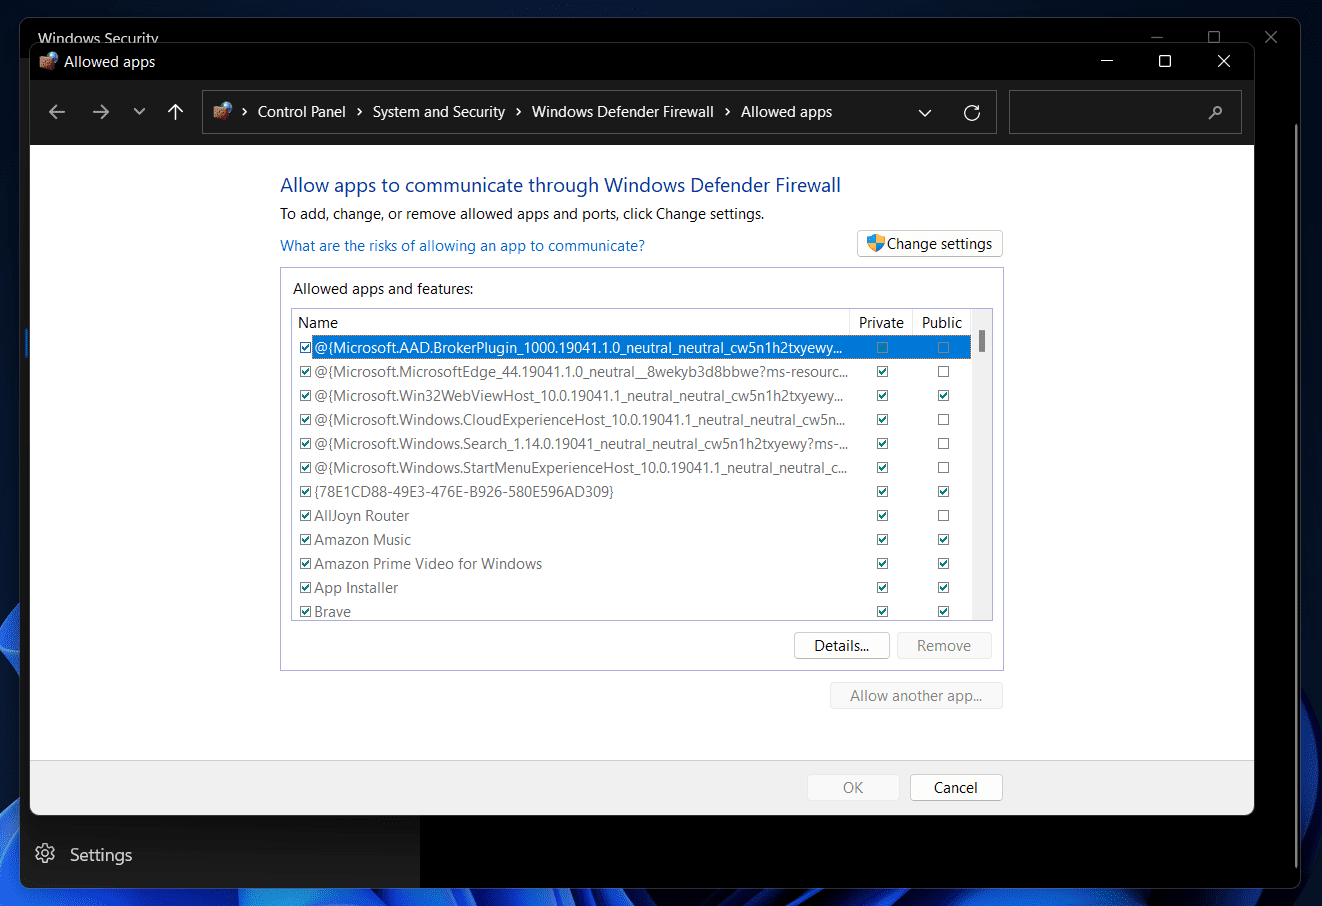
Then click on Windows security on the right side of the screen and then click on Open Windows security. After doing so, click on Firewall & network protection to head to the Windows Firewall.Here, click on Allow an app through the firewall. Now on the next screen that opens up, click on Change Settings, and then click on Allow another app.
Click on Browse, and you will see a list of apps open up.Select the app from the list that you want to allow through the firewall.Now click on Add to disable the firewall for the app.Once done, click on OK, and then close the Windows security.
This will disable the Firewall for that particular app. Similarly, you can add more apps to the list that you want to allow through Firewall. However, if you want to re-enable the firewall for that app, then you should remove the app that you added. RELATED GUIDES:
How To Turn Off Keyboard Autocorrect On Windows 11How To Disable Or Uninstall OneDrive From Windows 11How To Disable Windows 11 Feedback Hub NotificationsHow To Bypass Windows 11 Installation Requirements
The Verdict
Disabling Windows 11 Firewall is easy, and you can anytime disable it if you want to. You can easily disable Windows Firewall, or you can either disable the firewall for the particular app through the above steps. We have also discussed the steps to enable the firewall. Following the above steps, you will be able to disable Windows Firewall as well as re-enable it.
Δ
