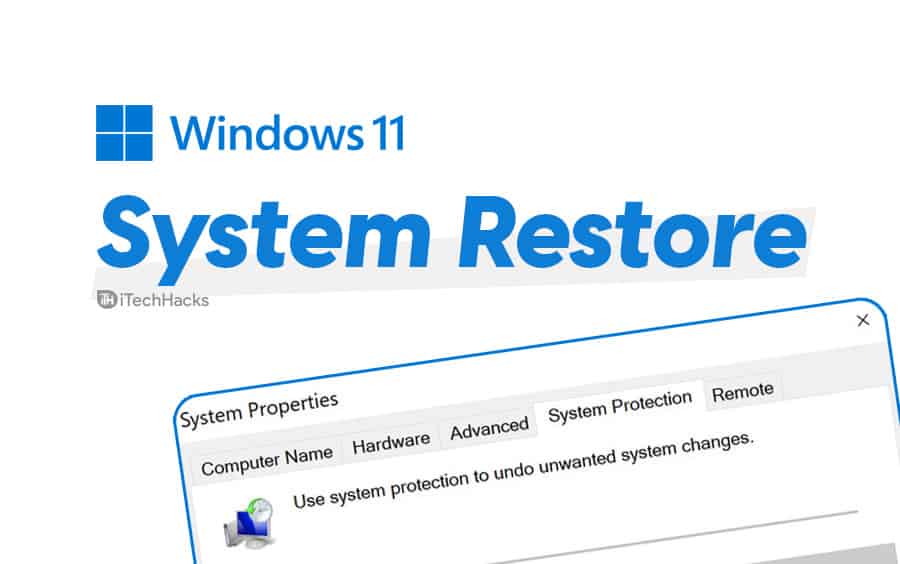
The system restores feature is present in the system to address such issues. On Windows 11, you get a system restore point, which you can utilize to undo any new system changes. System restore is available on Windows 11, but by default, it is disabled. You will need to manually enable this function in order to use it. This guide will show you how to enable and use system restore in Windows 11.
1 How to Do Windows 11 System Restore1.1 Enabling System Restore Windows 111.2 Creating System Restore Point Manually on Windows 111.3 Restoring Windows 11 System From Desktop1.4 Restore The System From The Advanced Startup1.5 Final Words
Enabling System Restore Windows 11
You can enable system restore on Windows 11. When you configure system restore on your PC, your system will automatically create a restore point whenever you make any changes to the system, like installing updates or such. To enable system restore on Windows 11, follow the steps given below:
Open the “Start menu“ and then search for create a recovery drive and open it.You will be headed to the system protection tab in the system properties. Now under the protection settings, select the drive in which you want to create the restore point, and then click on configure.
On the next Windows that appears, click select the turn on system protection toggle, and click on apply.
After doing so, Windows 11 will create a restore point automatically whenever you try making some changes to Windows.
Creating System Restore Point Manually on Windows 11
The above method will create a system restore point automatically. However, if you want to create a system restore point automatically when making any changes to the system, then you can follow the steps given below-
Click on the Start or press the Windows key on your keyboard to open the start menu. In the start menu, search for and open the create a recovery drive.This will open the system properties of your PC. Click on create option that you will find under protection settings under the system protection tab.
You will have to name the restore point. Ensure you name it correctly before continuing. Click on create to create a restore point with that name.
You can manually create the system restore point whenever you are making any changes to the system.
Restoring Windows 11 System From Desktop
If you want to undo the changes and restore the system to the point when it was working fine, then you can restore your system using the restore point you created earlier. Follow the steps given below to restore the system using the system restore point.
In the start menu, search for create a recovery drive and open it. This will lead you to the system protection tab in the system properties. You will see the system restore option there. Click on it.Now select the restore point to which you want to restore your system.Click on the scan for affected programs button. This will tell what changes will be made. This will let you know what apps will be removed or added to your system because they were added or removed after creating the restore point.
Once done, click on close to close the current window, and then click on next to continue with system restore.Once done, click on finish, and then close the window. This will restore your system to the system restore point.
Restore The System From The Advanced Startup
If you cannot access your system, you will have to restore your PC from the advanced startup. When the system crashes, you have the option to restore your system using the advanced startup. Step 1: Firstly access the advanced startup on your PC.
You can do this by interrupting the normal boot process of the system. Firstly, power off your PC. Press the power button to turn it on, and as soon as the Windows logo appears, turn it off. This will interrupt the normal boot process. Repeat this 4-5 times to access advanced startup. If you can access the sign-in screen, then on the sign-in screen, click on the power option. Then hold the shift key and click on the restart while you still hold the shift key. You can either use the Windows setup to open the advanced setup. If you have bootable media for Windows, then boot into the computer using that and click on the repair your computer option.
Step 2: Once in the advanced startup, you will see a blue screen. In the advanced startup, select Troubleshoot option.
Step 3: Now, in troubleshoot, select advanced options, and then select system restore. Step 4: Next, you will have to select Windows 10 account and then confirm it with your account password. Step 5: Once done, click on the continue button. Step 6: Next, select the restore point, and then click on scan for affected programs. This will show you all the changes that will be made to your system after you restore it. Close the current window, and then click on next to continue with the system restore. Step 7: Once done, click on finish. You can restore your system from the advanced startup by following the above process. READ MORE:
How to Run as Administrator Windows 11Fix Windows 11 Widgets Not WorkingHow To Enable Windows 11 Dark Mode
Final Words
That’s how you use Windows 11 system restore. System restores in Windows 11 are a valuable tool that allows you to restore your system to a prior state if it crashes. So feel free to use it and make your time worthwhile.
Δ


